How to Change V-Belts on Kalamazoo Industries Abrasive Saws
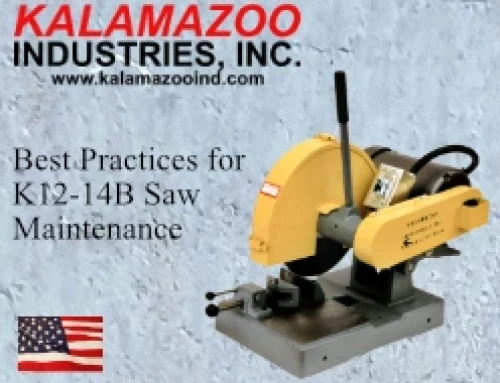
Kalamazoo Industries industrial abrasive saws are versatile and efficient tools and making them a staple in many workshops and industrial settings. To keep your saw running smoothly, regular maintenance is essential. One crucial aspect of this maintenance is replacing the V-belts when they wear out. This step-by-step guide will walk you through on how to replace the v-belts on your Kalamazoo Industries abrasive saw. We’ve also included a video tutorial to assist you further.
Tools You’ll Need To Replace The V-belts:
Before you begin, gather the following tools:
1. Wrench set
2. Belt tension tool
3. Straight edge
4. Socket set
5. Safety goggles
6. Replacement V-belts
Step-by-Step Guide:
**Step 1: Loosen Bolts**
You can start by loosening the bolts that secure the motor to the saw arm. This will allow you to access the V-belts for replacement. Please ensure you have turned off the power to the saw before proceeding.
**Step 2: Remove Old V-Belts**
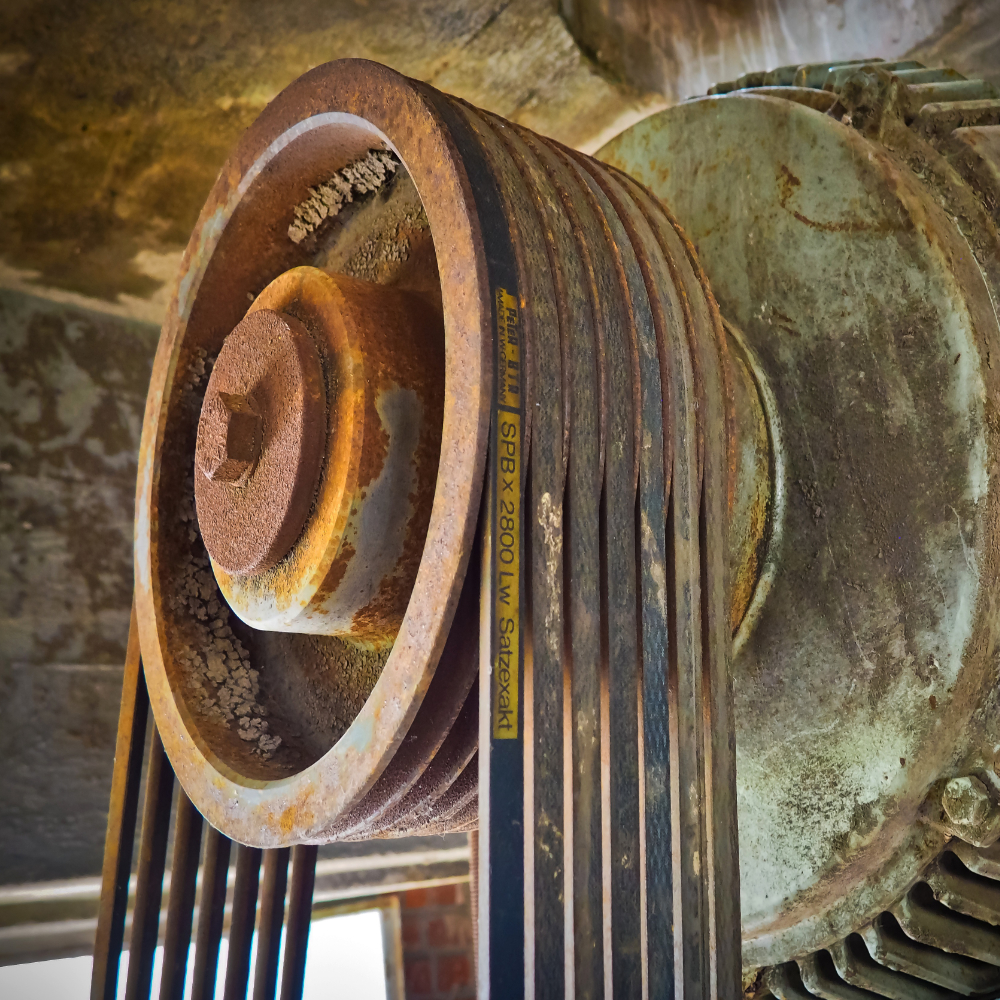
Carefully remove the old, worn-out V-belts from the pulleys. Please note their positioning for reference when installing the new belts.
**Step 3: Install New V-Belts**
Place the new V-belts onto the pulleys, ensuring they are correctly seated. Proper alignment is crucial for optimal performance.
**Step 4: Use Belt Tension Tool**
Position the belt tension tool between the motor and spindle pulley, ensuring they fit snugly into the grooves on the pulleys. This tool will help you achieve the correct tension in the V-belts.
**Step 5: Adjust Belt Tension**
With a wrench, extend the head of the tensioning tool to tighten the V-belts. Aim for approximately 1/4-inch of squeeze between the top and bottom of each V-belt. Proper tension is vital for smooth operation and belt longevity.
**Step 6: Check Pulley Alignment**
Take a straight edge to verify that the pulleys are parallel. Proper alignment ensures that the V-belts run smoothly and don’t wear unevenly.
**Step 7: Tighten Motor Bolts**
Once satisfied with the belt tension and pulley alignment, tighten the bolts that secure the motor to the saw arm. Ensure they are securely fastened.
**Step 8: Replace Belt Guard**
Put the belt guard back in place and secure it. This protective cover helps keep you safe while operating the saw.
**Get Back to Work**
With the new V-belts installed and everything adequately secured, you can return to work with your Kalamazoo Industries abrasive saw. Enjoy the improved performance and reliability of your machine.
Video Tutorial:
For visual guidance, watch this video tutorial to the right on how to change the V-belts on your Kalamazoo Industries abrasive saw:
Conclusion:
Regular maintenance of your Kalamazoo Industries industrial abrasive saw, including changing the V-belts, is essential to keep it running smoothly and prolong its lifespan. With the right tools and following these steps, you can easily replace the V-belts yourself. Remember to prioritize safety by wearing appropriate protective gear and ensuring the power is disconnected before starting any maintenance task. If you need replacement parts for your Kalamazoo Industries abrasive saws, visit kalamazooind.com to find the necessary components. Happy sawing!


